👻 Void in the Basement
I have a basement, and I have a problem: no WiFi signal in said basement. I have also a piece of e-waste that refuses to die: a Samsung N130 netbook from 2009. It has a single-core Atom processor and 1GB of RAM. By modern standards, it can barely open a web browser. But for a Linux terminal, It’s a supercomputer. Instead of buying a generic ~10€ WiFi repeater, I decided to turn this little warrior into a fully programmable, secure, and transparent WiFi router using Void Linux. Here is exactly how I did it.
💻 The Hardware Setup
- Samsung N130 (Internal WiFi card: Atheros/Realtek depending on model).
- A cheap USB WiFi dongle (Realtek RTL8188EUS) that was collecting dust in a drawer
- Void Linux (glibc, base install).
The plan is simple:
- The USB dongle connects to my main home WiFi upstairs.
- The internal card advertise a new network downstairs.
- The netbook routes traffic between them.
🐧 0: Installing Void Linux
Nothing too complicated; just create an USB pen from ISO, boot it and follow the excellent documentation. I prefer to install also some day2day standard tools like zsh, fzf, ripgrep, starship, zoxide, fdfind and some extra packages that we will need later: wpa_supplicant, dnsmasq, hostapd, cronie, nftables, ttyqr.
Why Void Linux ? Well, it’s available on 32bit architectures, pretty much updated and very low on resource consumption. If offers a straight and simple old-school Linux usage experience.
🛜 1: Choosing the Chosen One (AP Mode)
Not all WiFi cards are created equal. To act as a hotspot, a card must support AP Mode.
I installed iw and checked both cards:
iw list
I looked through the output for Supported interface modes.
If it lists AP, we are in business.
If it only says managed, that card can only be a client (use it for the Gateway).
In my case, the internal card supported AP mode perfectly, so it became the Access Point, and the USB dongle became the Gateway.
😵 2: Naming Rights (Udev Rules)
Linux interface names like wlp2s0 or wlp0s29f7u1… are impossible to remember. Let’s rename them to wlan_ap (internal) and wlan_gw (external/USB) so I never get confused.
I created /etc/udev/rules.d/10-network.rules:
# Internal Card -> wlan_ap
SUBSYSTEM=="net", ACTION=="add", ATTR{address}=="00:11:22:33:44:55", NAME="wlan_ap"

# USB Dongle -> wlan_gw
SUBSYSTEM=="net", ACTION=="add", ATTR{address}=="aa:bb:cc:dd:ee:ff", NAME="wlan_gw"
(Tip: Get your MAC addresses using ip link).
After a reboot, ip link showed my beautiful, logical names.
If you prefer to not reboot, trigger the udev rules with
udevadm trigger --verbose --subsystem-match=net --action=add
🔌 3: Connecting Upstream (The Client)
I used wpa_supplicant to connect the USB dongle to my main house WiFi.
File: /etc/wpa_supplicant/wpa_supplicant.conf
ctrl_interface=/run/wpa_supplicant
update_config=1

network={
    ssid="MyUpstairsWiFi"
    psk="SuperSecretHomePassword"
}
the psk is a long hexadecimal string, you can obtain it with
wpa_passphrase "YOUR_SSID" "YOUR_PASSWORD" | sudo tee /etc/wpa_supplicant/wpa_supplicant.conf
Then, I configured the service. Since I’m using runit on Void, I configured the service run file to force it to use wlan_gw:
cat /var/service/wpa_supplicant/conf
WPA_INTERFACE=wlan_gw
On Void, to enable a service and make it run at startup by runit, it’s sufficient to create a symlink:
ln -s /etc/sv/wpa_supplicant /var/service/
🔥 4: The Hotspot (hostapd)
Now for the guest network broadcasting. I installed hostapd and configured it to turn the internal card into a hotspot.
File: /etc/hostapd/hostapd.conf
interface=wlan_ap
driver=nl80211
ssid=Basement_Bunker
hw_mode=g
channel=6
wmm_enabled=0
macaddr_acl=0
auth_algs=1
ignore_broadcast_ssid=0
wpa=3
wpa_passphrase=BasementPassword123
wpa_key_mgmt=WPA-PSK
rsn_pairwise=CCMP
ieee80211n=1
I enabled that service as well (ln -s /etc/sv/hostapd /var/service/). Boom, the network appeared on my phone! But connecting to it did nothing yet.
📟 5: The brains (IPs & DHCP)
We need to give the Access Point and Gateway a static IP.
File: /etc/dhcpcd.conf
# Gateway act as a plain wifi client device
interface wlan_gw
  static ip_address=192.168.1.99/24
  static routers=192.168.1.1  # main home router with internet connection

# Access Point: Static IP (I am the Captain now)
interface wlan_ap
  static ip_address=192.168.50.1/24
Next, dnsmasq handles both assigning IPs to devices that connect to the basement network, and name resolution / caching.
File: /etc/dnsmasq.conf
# Listen only on the local interface (AP)
interface=wlan_ap
interface=lo
bind-interfaces

cache-size=1000
domain-needed
bogus-priv

dhcp-range=192.168.50.100,192.168.50.200,255.255.255.0,12h

server=192.168.1.1
server=8.8.8.8

# Set the default gateway and DNS for clients
dhcp-option=3,192.168.50.1
dhcp-option=6,192.168.50.1
🪠 6: The Plumbing (Routing & NAT)
The kernel needs permission to pass packets from one interface to another.
File: /etc/sysctl.d/99-forwarding.conf
net.ipv4.ip_forward=1
Finally, nftables does the heavy lifting: NAT (masquerading), firewalling, and the critical MSS Clamping fix (without which Android phones will connect but fail to load websites). I choose it over the classic iptables to learn a more modern tool.
File: /etc/nftables.conf
#!/usr/sbin/nft -f
flush ruleset

table ip nat {
    chain postrouting {
        type nat hook postrouting priority 100; policy accept;
        # Masquerade traffic leaving the USB dongle
        oifname "wlan_gw" masquerade
    }
}

table inet filter {
    chain input {
        type filter hook input priority 0; policy drop;
        iifname "lo" accept
        ct state established,related accept
        ip protocol icmp accept

        # Allow DHCP & DNS from the basement
        iifname "wlan_ap" udp dport { 67, 53 } accept
        iifname "wlan_ap" tcp dport 53 accept

        # SECURITY: Block SSH from the basement!
        # Only allow SSH from the main house network (Gateway)
        # Assuming main house is 192.168.1.x
        iifname "wlan_gw" ip saddr 192.168.1.0/24 tcp dport 22 accept
    }

    chain forward {
        type filter hook forward priority 0; policy drop;

        # TCP MSS Clamping: The magic fix for WiFi-to-WiFi bridging
        tcp flags syn tcp option maxseg size set rt mtu

        # Allow traffic flow
        iifname "wlan_ap" oifname "wlan_gw" accept
        iifname "wlan_gw" oifname "wlan_ap" ct state established,related accept
    }

    chain output { type filter hook output priority 0; policy accept; }
}
🤳 7: The “User Friendly” Touch (QR Code Login)
Since this netbook sits on a shelf, I wanted the screen to be useful. Instead of a boring login prompt, I made it display a QR code so guests can scan-to-connect.
I installed ttyqr and added this to /etc/rc.local:
# Clear screen
echo -e "\033c" > /etc/issue

# Generate QR Code for WiFi
# Format: WIFI:T:WPA;S:MySSID;P:MyPassword;;
ttyqr -t ANSIUTF8 "WIFI:T:WPA;S:Basement_Bunker;P:BasementPassword123;;" >> /etc/issue

# Add text
echo -e "\nScan to join the Bunker!" >> /etc/issue
echo -e "IP: 192.168.50.1" >> /etc/issue
Now, the TTY login screen looks like a kiosk!
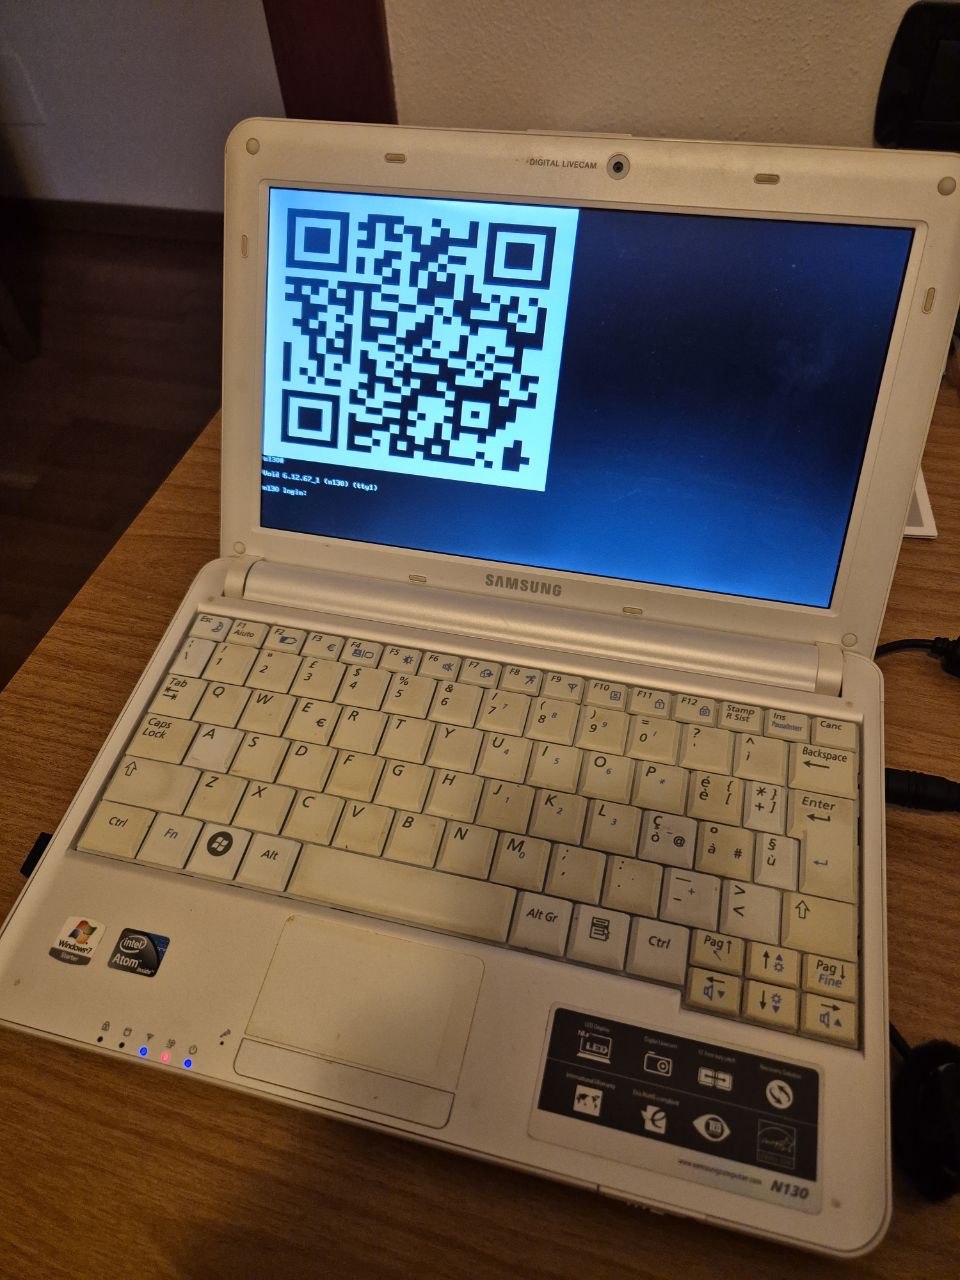
(please don’t scan this one: the network and password here aren’t real)
👾 What else can 1GB RAM do? 🔊
Since the router part uses almost no resources (under 100MB RAM), I decided to give the N130 a few more jobs.
- Jukebox (mpd + ncmpcpp)
I installed mpd (Music Player Daemon) and hooked up the netbook to an old speaker via the headphone jack, so It can play local music files (more than 100GB of storage) as well internet radio streams seamlessly.
I can control the volume and stations via SSH or an app on my phone, or use the visualizer in ncmpcpp directly on the netbook screen.
- Retro Gaming Station
When the internet goes out, I can still kill time. Just some examples:
Bastet: A cruel Tetris clone.
Ninvaders: Space Invaders in the terminal.
Moon-buggy: A side-scrolling driving game.
Pacman4Console: Waka Waka
All of these run perfectly in text mode (tty), requiring zero graphical interface (no Wayland nor X11), saving precious RAM for the routing.
📜 Final Verdict
My old N130 lives again. It boots in seconds, handles traffic for the whole basement, blocks unauthorized SSH attempts, auto-updates and even helps guests connect with a QR code. Not bad for a laptop that was considered “too slow” 10 years ago.
In conclusion… Yes, I could have just bought a Wi-Fi extender instead of spending 2 hours configuring an old pc, but in the meantime, I have learned a lot, and saved some hardware. Happy hacking!